Using Github Classroom for Lab Assignments
This guide to Github Classroom was created by Dr. Matt Lavin for his DA 101 course. I’m including it here with only minor adjustments for our course.
To complete each lab assignment (individual or team) you will need a Github account, and you will need access to our Github Classroom, which I will provide once I have your Github username. Once you have access, you’ll be able to click on the links in the schedule and create a Github repository cloned from the “starter code” I have provided in each lab repository. In each repository, you will find a readme.md file with instructions, as well as additional files and folders, such as any data sets needed to complete the lab. There will always be a file called submission.r, submission.rmd, or submission.md.
General Instructions
- Click on on the Github Classroom Link for This Week’s Lab
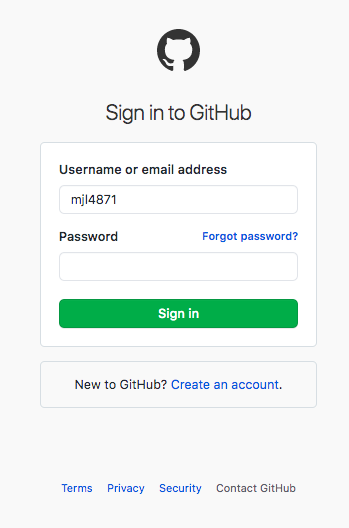
- If prompted to sign into Github, do so
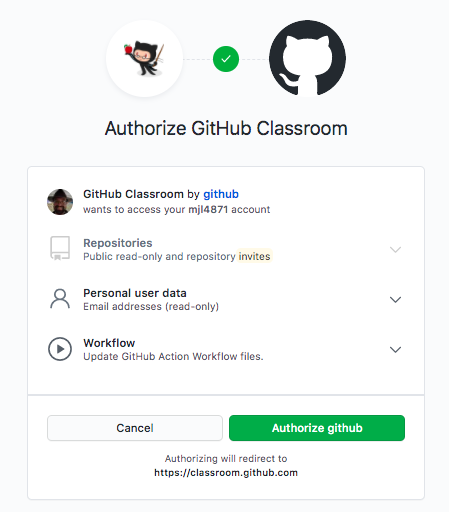
- If asked to
Authorize GitHub Classroom, click to authorize
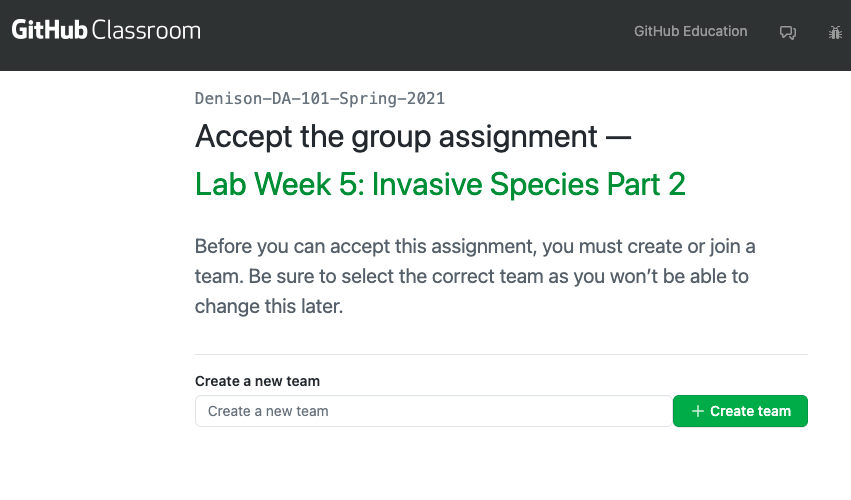
- On the screen that asks you to select your team, if you are the nominated team captain, enter your team name. This will create a Github Classroom team. If you are not the team captain, wait for your captain to verfify that the team has been created. Then begin typing your team name until an option to select your team appears. Make sure you select the right team, as you cannot undo this action.
- Click the green button that says
Accept this assignment - You will see a screen that says
You're ready to go!On this page is a repo link and a due date (this repo is actually a fork of a Github template)
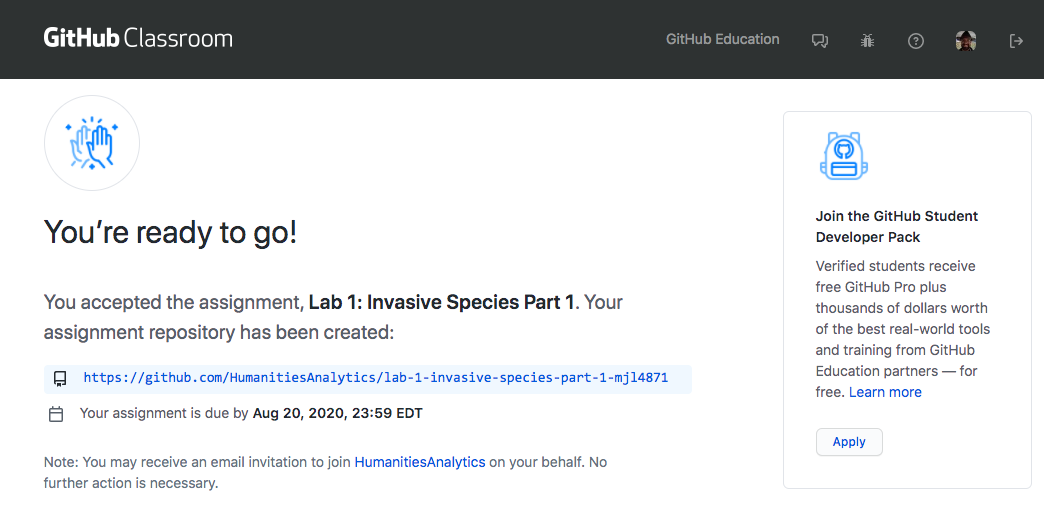
- Visiting the repo link will bring you to a private Github repository at
https://github.com/humanitiesanalytics/[name of lab]-[your Github username](This will differ slightly for a team assignment.) -
In this repo, you will see files and folders as described above
- You and your teammates can now add and edit files. Each time you make a change, you will asked to commit changes and leave an optional commit message. These messages can be as simple as “initial commit,” but you can also use them to keep track of which changes you are making.
These instructions have several steps, but each one is relatively easy, and I promise you’ll get used to it. On the plus side, knowing some git/Github will pay big dividends in the future (employment, riches, the admiration of your peers, you name it). If anything goes sideways, you can always email me or our TA for help.
Command Line Github
If you have used Github before, you will be able to clone the repository to your desktop, make changes, commit, and push much like you would with a normal Github repository, with a couple of minor exceptions that I am happy to help you learn. If you haven’t used Github before, you can write your code in RStudio and then copy/paste it to the submission file or create your file in RStudio, save it, and upload it to Github.